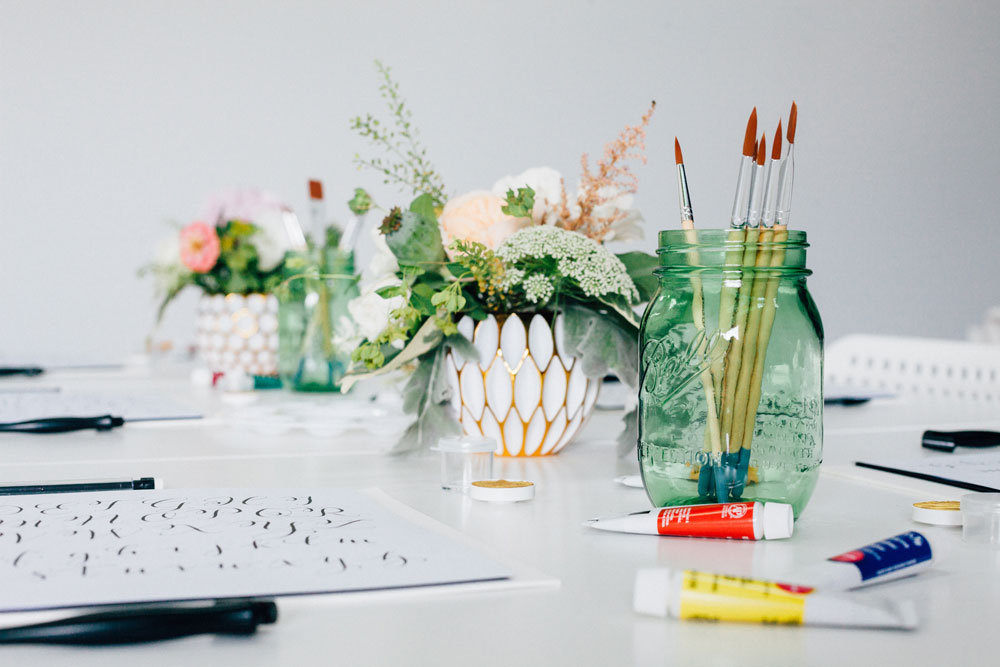
As anyone who has taken my class can attest, I always stress the importance of good supplies. I get a ton of questions about recommended supplies, so I’ve put together a short list in case you’re trying to find something for yourself (or your favorite calligraphy enthusiast). If you buy from Paper & Ink Arts (the Sephora of calligraphy supplies), I’d love if you use my referral link so I can continue to offer competitive prices on all of my classes and events. Some of these supplies may be what you’d expect, but I think some may surprise you!
Here are some of my favorite conventional supplies:
Zebra G Nib – While everyone has their own opinions about what nib is the best, I constantly find myself reaching for the Zebra G. It’s one of my go-to nibs for all sorts of projects and one of the nibs I supply in my beginner’s class. It’s got just the right balance of stiffness and flexibility, which lends itself to rougher surfaces and makes it ideal for someone who is just starting out.
Needle-Nose Pliers – No two nibs or pen holders are exactly the same. While most nibs and pen holders are compatible, every once in a while you’ll find a nib or pen holder that’s a little bit looser. I always keep my trusty needle-nose pliers on hand in case I need to make some quick adjustments. If you don’t have any yet, you could always pick some up next time you’re shopping somewhere like Home Depot; if you’re shopping online, you could check out this site https://www.raise.com/coupons/home-depot and see if there are any deals to be had.
Gold Ink – Don’t let the Finetec gold palette scare you. It seems intimidating at first, but it’s surprisingly easy to use. I love that it’s water-based (which cleans up easier and doesn’t cake up as much on your nib). And the colors are UNBEATABLE. The downside is that it can be a little bit more time-consuming than other inks because you have to paint it onto your nib instead of dipping it in. Just use a dropper to add a lot of water to it, let it sit for a minute, stir it up and then start writing. You want to make sure it’s nice and watery (people just starting out tend to keep it on the drier side).
White Ink – I LOVE how opaque this ink is. I’ve tried lots of other white inks in the past that were either too transparent or crackled when they dried. This ink is amazing. Sometimes it’s on the thicker side when you first get it, so add a little bit of distilled water and stir, stir, stir!
Pen Holders – Some people may think I’m cray cray, but I’m a huge fan of plastic pen holders because they’re easy to clean. BUT, if you want a beautiful pen holder that you won’t ever want to mess up, you should get one from Ashley Bush.
Brush Markers – Tombow markers are vivid, bouncy, and blend amazingly well. I love the dual tip. The brush end lets you write larger-scale calligraphy. And the fine tip lets you write thin, sans serif letters or make touch ups. Just make sure you hold them the correct way and use the right type of paper so they last longer (future workshop?!). You can buy them individually at most art stores, or in packs of 10. But if you truly love someone, you’ll buy them the 96-piece set! 🙂
Modern Calligraphy Made Easy – The online version of my modern calligraphy class is just $25 and goes over everything I teach in my studio classes. You can watch it over and over as many times as you need and never expires. It comes with two alphabet sets and several different project ideas so you can apply your new calligraphy skills.
And some of my favorite unconventional supplies:
Magic Erasers – Magic erasers use abrasive microfoam to clean. This sounds super scientific, but the point I’m trying to make is that they don’t use chemical agents. So I feel safe using them to scrub all of my tables, my hands, everything. Magic erasers clean inky fingers and stubborn chalkboards like nobody’s business.
Nail Files – Every once in a while, you’ll get a nib that’s just a little too sharp. It keeps catching on the paper and snapping all over the place. A quick once-over with a nail file is usually just enough to get the nib in working order. You can also use them to VERY CAREFULLY touch up minor mistakes on an envelope (it all depends on what type of envelope).
Clear Supply Pouch – This pouch has saved my life a couple times! You could go fancy with a special toolbox, but I like to organize all of my supplies by type/color in separate baggies. It’s clear, so you can see exactly what’s in them-but it’s also very thick and sturdy. A ziplock bag won’t cut it. One time I was traveling and my ink spilled all over the inside of this bag without ruining anything in my suitcase.
My Favorite Calligraphy Supplies
As anyone who has taken my class can attest, I always stress the importance of good supplies. I get a ton of questions about recommended supplies, so I’ve put together a short list in case you’re trying to find something for yourself (or your favorite calligraphy enthusiast). If you buy from Paper & Ink Arts (the Sephora of calligraphy supplies), I’d love if you use my referral link so I can continue to offer competitive prices on all of my classes and events. Some of these supplies may be what you’d expect, but I think some may surprise you!
Here are some of my favorite conventional supplies:
Zebra G Nib – While everyone has their own opinions about what nib is the best, I constantly find myself reaching for the Zebra G. It’s one of my go-to nibs for all sorts of projects and one of the nibs I supply in my beginner’s class. It’s got just the right balance of stiffness and flexibility, which lends itself to rougher surfaces and makes it ideal for someone who is just starting out.
Needle-Nose Pliers – No two nibs or pen holders are exactly the same. While most nibs and pen holders are compatible, every once in a while you’ll find a nib or pen holder that’s a little bit looser. I always keep my trusty needle-nose pliers on hand in case I need to make some quick adjustments. If you don’t have any yet, you could always pick some up next time you’re shopping somewhere like Home Depot; if you’re shopping online, you could check out this site https://www.raise.com/coupons/home-depot and see if there are any deals to be had.
Gold Ink – Don’t let the Finetec gold palette scare you. It seems intimidating at first, but it’s surprisingly easy to use. I love that it’s water-based (which cleans up easier and doesn’t cake up as much on your nib). And the colors are UNBEATABLE. The downside is that it can be a little bit more time-consuming than other inks because you have to paint it onto your nib instead of dipping it in. Just use a dropper to add a lot of water to it, let it sit for a minute, stir it up and then start writing. You want to make sure it’s nice and watery (people just starting out tend to keep it on the drier side).
White Ink – I LOVE how opaque this ink is. I’ve tried lots of other white inks in the past that were either too transparent or crackled when they dried. This ink is amazing. Sometimes it’s on the thicker side when you first get it, so add a little bit of distilled water and stir, stir, stir!
Pen Holders – Some people may think I’m cray cray, but I’m a huge fan of plastic pen holders because they’re easy to clean. BUT, if you want a beautiful pen holder that you won’t ever want to mess up, you should get one from Ashley Bush.
Brush Markers – Tombow markers are vivid, bouncy, and blend amazingly well. I love the dual tip. The brush end lets you write larger-scale calligraphy. And the fine tip lets you write thin, sans serif letters or make touch ups. Just make sure you hold them the correct way and use the right type of paper so they last longer (future workshop?!). You can buy them individually at most art stores, or in packs of 10. But if you truly love someone, you’ll buy them the 96-piece set! 🙂
Modern Calligraphy Made Easy – The online version of my modern calligraphy class is just $25 and goes over everything I teach in my studio classes. You can watch it over and over as many times as you need and never expires. It comes with two alphabet sets and several different project ideas so you can apply your new calligraphy skills.
And some of my favorite unconventional supplies:
Magic Erasers – Magic erasers use abrasive microfoam to clean. This sounds super scientific, but the point I’m trying to make is that they don’t use chemical agents. So I feel safe using them to scrub all of my tables, my hands, everything. Magic erasers clean inky fingers and stubborn chalkboards like nobody’s business.
Nail Files – Every once in a while, you’ll get a nib that’s just a little too sharp. It keeps catching on the paper and snapping all over the place. A quick once-over with a nail file is usually just enough to get the nib in working order. You can also use them to VERY CAREFULLY touch up minor mistakes on an envelope (it all depends on what type of envelope).
Clear Supply Pouch – This pouch has saved my life a couple times! You could go fancy with a special toolbox, but I like to organize all of my supplies by type/color in separate baggies. It’s clear, so you can see exactly what’s in them-but it’s also very thick and sturdy. A ziplock bag won’t cut it. One time I was traveling and my ink spilled all over the inside of this bag without ruining anything in my suitcase.